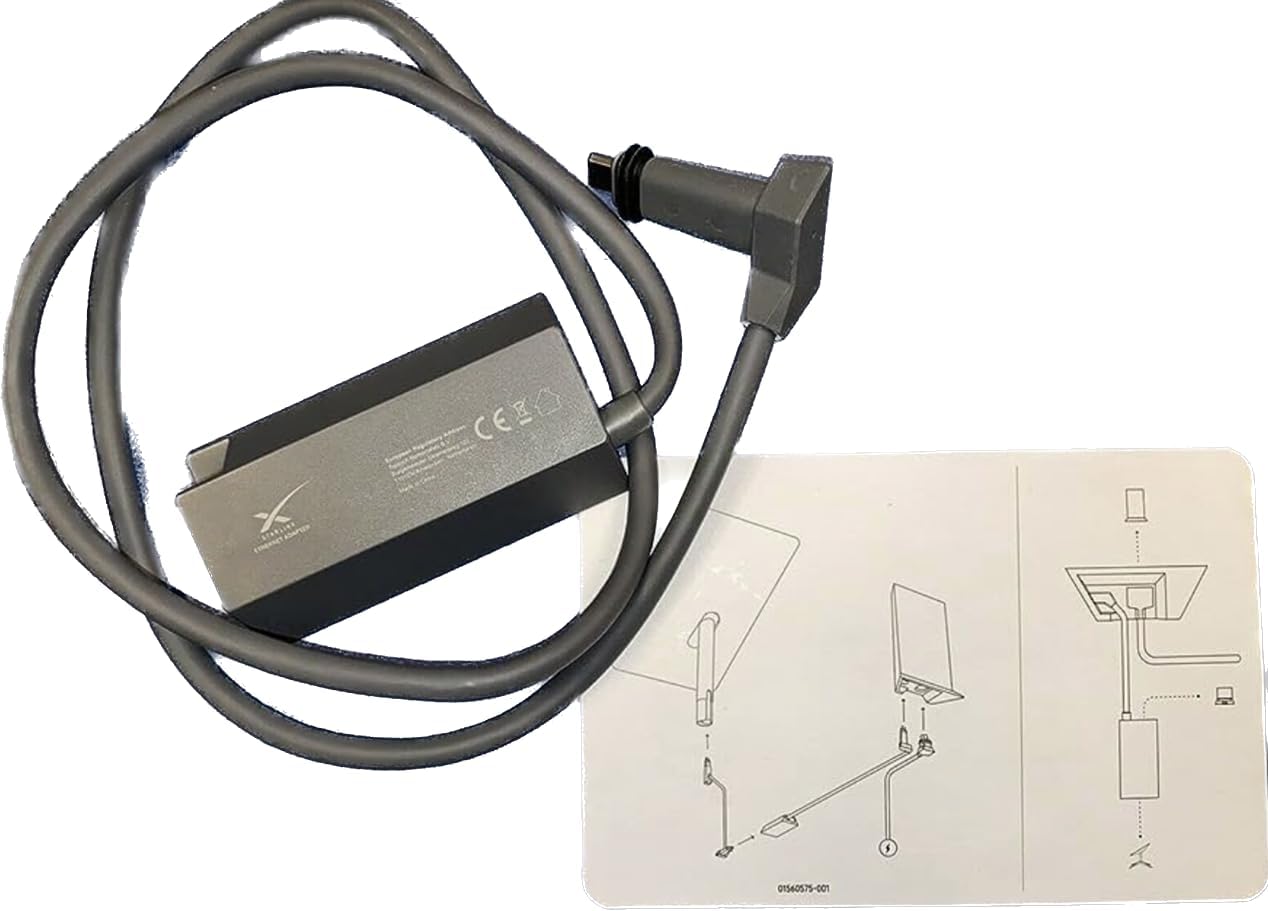
Starlink Ethernet Adapter for Wired External Network (01560575-001)
FREE Shipping
Starlink Ethernet Adapter for Wired External Network (01560575-001)
- Brand: Unbranded

Description
by grinding off the triangle bit of plastic from the cable i was able to get it to slide through the x mount that comes with. Included Starlink Base is good for: No cost as it is included in your kit. Can be secured to a structure thanks to pre-drilled mounting holes on the legs.
Starlink Hardware - The unofficial resource for Starlink
The Starlink app says online with a spinning icon that never turns green and after 30 seconds or so the online notice goes away and it says to connect to Starlink Wi-Fi. hi Noah! Thanks for good info. I am in Philippines with roam plan for starlink. I need to install on metal peaked roof for my home base but want an easy way to remove for travel. The starlink roof line kit is just too expensive. Any thoughts? Option 1: Use an inverter and just simply plug in the existing Starlink system into the 120v inverter(Least efficient).
I cannot emphasis enough to be patient. Once you connect your gear and the cables, wait. Give Dishy time to come online. Be patient. It might not occur right away. For the Chimney Mount Install Kit shown above, you will just need to supply a mast that is up to 2″ OD. It’s also a good idea to measure the diameter of your chimney to make sure the straps are long enough. Once you replace the Starlink connection on the ethernet adapter with the swapped connector you just simply plug the Starlink connector from the dish to the ethernet adapter. The Winegard comes in 18″ (DS2000) or 38″ (DS3000). The exact offset depends on the various factors of your roof install, but generally, the aftermarket j mounts are going to get the dish much further away from the roof than the Starlink wall mounts. Reply
Starlink
Here’s the other option I talked about above that doesn’t require the cutting of the main Starlink dish cable. Are you trying to power the router with POE? That is not what the POE is for. The POE is for powering the Starlink Dish. The router needs to be powered separately. Instead of simply drilling into the roof, the Flashing Mount's setup is a bit more involved. It requires you to cut away some of your roof using a provided template and a utility knife, pry up the surrounding shingles a bit, and then screw and caulk the mount into position. It's a more invasive process, but that's just the reality of some roofing materials. In some circumstances people might need to mount their Starlink dish far away from their home to be clear of obstructions. In other circumstances a dedicated tower might be needed to get the vertical height necessary to clear tree’s around the house. Tower Mount’s offer a solution for these tough circumstances. I have the Tycon Injector INJ-1000-WT recommended, which I use with a 120V power supply that provides 48-56V. I see I am sending 48+ volts from the power supply to the Tycon and the Tycon power is lit. No way of telling if Dishy is power up, because she ‘shuts down” right about the same alignment when she boots up/is booted up. So, since it never comes up/online, and
I’d love to send you one of our Starlink roof mounts that we have available here in Australia. We have them available for both metal and tiled roofs. Starlink Satellite broadband is in our opinion one of the most exciting developments in our industry for a least the past 5 years. It give fast reliable internet connectivity in a few minutes to almost anywhere in the country (UK). All you need is a power supply and an area free from overhead obstructions, so the dish can connect to one of the thousands of low orbit satellites. The Federal Communications Commission approved Starlink's new user terminals on Wednesday. The main differences between the old and new equipment are described in the specifications section of a support FAQ. to 48V DC Step Up Converter (Input 10-25V) Boost Voltage Transformer (5A 240W) https://a.co/d/g2DCaCW
Starlink Pipe Adapter – Installation And Review
I will try re-wiring the ethernet maybe I messed it up, unfortunately, the shielded RJ45 I have don’t allow the wire to come out the end so have to look through the clear casing and cut to the right size from the start so may have made a mistake there. The idea is to leave the main cable as it is and connect the cable via the adapter to the poe input.Hello! My name is August, and I’m a devoted traveler and travel blogger. I made the decision to leave my 9-to-5 job and pursue a nomadic lifestyle, and it’s been an incredible journey. My passion for experiencing new cultures is what drives me, and I aim to motivate others to embark on their own adventures through my stories, photos, and advice. When I’m not discovering the wonders of the world, I indulge in skiing, mountain biking, and savoring the unique flavors of different places. Cut an old dishy cable so I could test the individual wires. Plugged it into the SL router, as well as into an Ethernet Adapter plugged into the SL Router. Used a voltmeter at 200v ac saw that each wire registered ~1.8. But when I plugged that cut wire into the Ethernet adapter plugged into the POE, it had no readings.
Trick Out Your Dish! The Complete Guide to Starlink
I have reattached the starlink wire together and plugged it in and done the initial setup it’s all working fine through that with the router and thus the dish powered by the mains. I’m not sure I understand exactly what you’re thinking. The POE injector is applying power to one of the wires in the ethernet cable.The POE injector itself does not have power which is why you have to also supply power to the POE injector. So that solves getting the power within the ethernet cable that is needed to power the dish.Flashing Mount is good for: Roof installations. High rain/snow locations where roof leaks might be a concern. Clean, professional look. This guide is based on the V.2 square Starlink system. I’m not familiar with other versions so I can’t say if this would work for different versions. I reread this guide and I may be missing it. what is the approximate offset of the winegard ds200a, and the starlink short and long mounts. I am considering mounting on facia. The roof is a bit steep in pitch. the SL long mount would likely have the dish somewhat out of the roof line just in the air. I dont know the offset or the height the short and winegard have. Can you share? Reply To provide the needed power to the POE injector we need a source of at least 48 volts to power the Starlink. I cannot get my Starlink to work off of DC. I have spent over a decade in IT, including installations, so working with the wiring is nothing new for me. I tried it both ways on the crossover wiring, doing both sides of the PoE. (tried it w/o swapping on the data side the first time and of course it didn’t work)
- Fruugo ID: 258392218-563234582
- EAN: 764486781913
-
Sold by: Fruugo